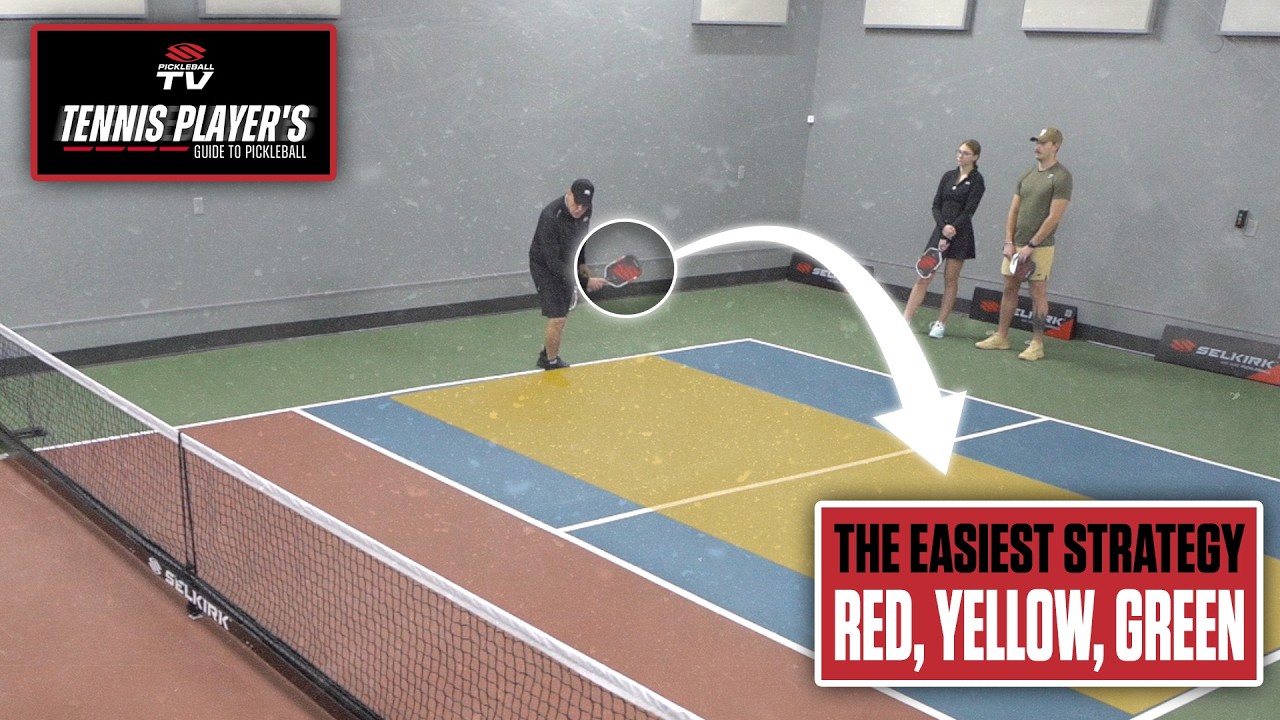
Many pickleball players focus exclusively on where to place their shots, but neglecting the vertical component—how high the ball travels over the net—often leads to unforced errors. By adopting a color-coded "Red, Yellow, Green" framework, players can manage risk and make smarter decisions based on their current court position and defensive needs.
The Three-Zone Height System
This system uses the 34-inch net height as a baseline to help you determine how much clearance your shot requires. Here are the three specific zones you should utilize during a match:
- The Red Zone (Survival): This is your defensive mode, used when you are off-balance or scrambling, such as when you are pulled wide or facing a difficult overhead. Your goal is simply to keep the rally alive rather than winning the point. Aim for a height of approximately three paddles stacked above the net. Use an open paddle face, swing upward, and prioritize high clearance over pace or depth to give yourself time to recover your court position.
- The Yellow Zone (Setup): This is the most common zone for constructing a point, used during third-shot drops, dinking exchanges, or while moving through the transition area. Your target height is two paddles high over the net. This clearance provides enough safety to avoid net errors while maintaining enough control to prevent your opponent from attacking. Think of this as "setting the table" for a future opportunity.
- The Green Zone (Finishing): This zone is reserved for when you have an offensive opportunity to end the rally. Your target height is one paddle high over the net. Because you are looking to hit down or use pace to find an open court, you should slightly close your paddle face and sweep across the ball. This zone also applies to aggressive, low-skimming dinks at the kitchen line that are designed to force an error.
By consciously choosing your height target before you swing, you eliminate the guesswork that plagues many amateur rallies. Remember that the red zone is about patience, the yellow zone is about construction, and the green zone is about commitment. Mastering these three heights will help you stop forcing low-percentage shots when you are under pressure and help you recognize when it is truly time to attack.